vivitar vec s124 manual

Vivitar VEC-S124 Manual: A Comprehensive Guide
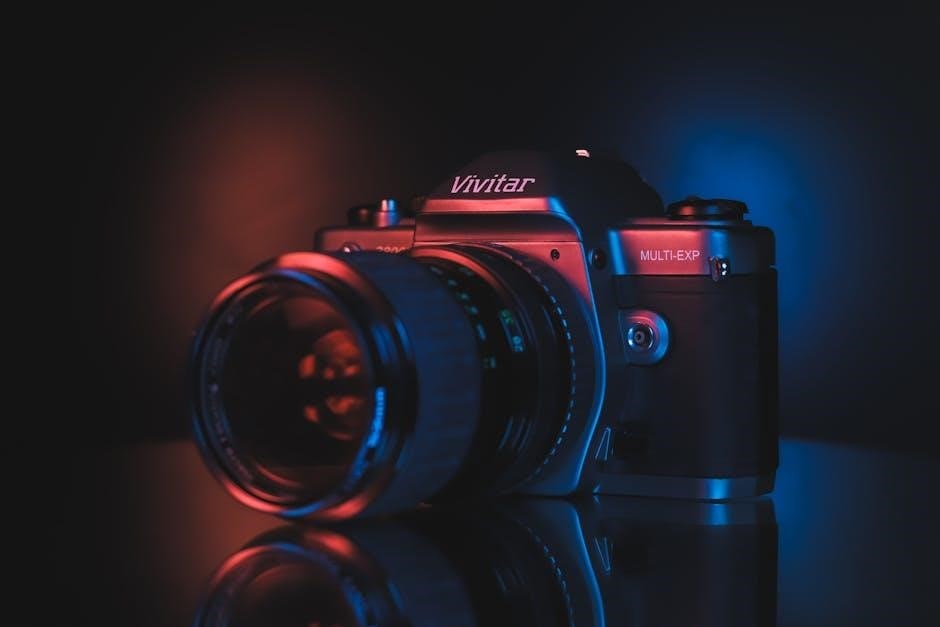
This manual provides detailed instructions for the ViviCam S124 digital camera, covering setup, operation, features, and troubleshooting․ It’s dated from 2009-2013 by Sakar International, Inc․
Welcome to the world of digital photography with your new ViviCam S124 digital camera! This user manual is designed to guide you through every aspect of your camera, ensuring you can capture and share your precious moments with ease․ Sakar International, Inc․, the creator of this device, has strived to provide a user-friendly experience, and this manual is a key component of that commitment․
Within these pages, you’ll find comprehensive instructions on everything from initial setup and basic operation to advanced features like ViviLink and macro photography․ We’ll cover how to navigate the camera’s menus, understand the different shooting modes, and transfer your photos to your computer for editing and sharing․

This manual reflects the camera’s design and functionality as of its publication between 2009 and 2013․ Please read it carefully to maximize your enjoyment and unlock the full potential of your ViviCam S124․ Remember that Windows is a registered trademark of Microsoft Corporation․
What’s Included
Before you begin your photographic journey with the ViviCam S124, it’s important to verify that all the components are present․ Your package should include the ViviCam S124 digital camera itself, ready to capture life’s moments․ Alongside the camera, you’ll find a USB cable, essential for connecting your camera to a computer for photo transfer and potentially charging․
A quick start guide is also included, offering a simplified overview of the camera’s basic functions to get you up and running quickly․ This is a helpful resource for immediate use․ Furthermore, the package contains this comprehensive user manual, providing detailed explanations of all features and functions․
Please retain all packaging and included materials for future reference, warranty claims, or potential resale․ If any items are missing or damaged, contact the retailer where you purchased the camera or Sakar International, Inc․ directly for assistance․
Parts of the Camera
Familiarizing yourself with the ViviCam S124’s components is crucial for optimal operation․ The camera features a lens, responsible for focusing light onto the image sensor, capturing your photos․ A flash unit provides additional illumination in low-light conditions, enhancing image clarity․ The mode dial allows you to select various shooting modes, tailoring the camera to different scenarios․
A shutter button initiates the photo capture process, freezing a moment in time․ The LCD screen serves as a viewfinder and displays captured images, offering a preview of your shots․ Navigation buttons facilitate menu access and settings adjustments, providing control over camera functions․
A speaker delivers audio feedback and allows for playback of recorded videos․ The USB port enables connection to a computer for data transfer․ Finally, the battery compartment houses the camera’s power source, ensuring it’s ready when you are․ Understanding these parts will greatly enhance your user experience․
Initial Camera Setup
Before you begin capturing memories with your ViviCam S124, proper initial setup is essential․ First, insert batteries into the designated battery compartment, ensuring correct polarity․ Next, insert a compatible SD card into the card slot to provide storage for your photos and videos․ The camera supports SD cards up to a specified capacity – check the specifications for details․
Power on the camera and follow the on-screen prompts to set the date and time․ Accurate date and time settings are crucial for proper image organization and metadata․ Configure the language settings to your preference for a user-friendly experience․ Finally, familiarize yourself with the menu navigation using the directional buttons․
These initial steps will ensure your ViviCam S124 is correctly configured and ready for immediate use, allowing you to focus on capturing stunning images․
Powering the Camera On/Off
To power on your ViviCam S124, locate the power button – typically found on the top or side of the camera body․ Press and hold this button for a few seconds until the LCD screen illuminates, indicating the camera is active․ You’ll then see the initial display, showing the current camera mode and battery status․
To power off the camera, repeat the process: press and hold the power button until the screen goes dark․ The camera will automatically shut down, conserving battery life․ Avoid removing the batteries while the camera is actively operating, as this could potentially corrupt data․
Some models may feature an auto-power off function, which activates after a period of inactivity․ This feature further enhances battery conservation․ Always ensure the camera is fully powered off when not in use․
Changing Camera Mode
The ViviCam S124 offers several camera modes to suit different shooting scenarios․ To switch between these modes, locate the mode dial or menu option dedicated to mode selection․ Rotating the dial, or navigating through the menu, will cycle through available options like Photo, Video, and potentially Scene modes․
Each mode optimizes the camera settings for specific conditions․ Photo mode is for standard still images, while Video mode enables recording moving pictures․ Scene modes, if available, offer pre-configured settings for landscapes, portraits, or sports, simplifying the process of achieving optimal results․
The current mode is typically displayed on the LCD screen․ Familiarize yourself with each mode’s function to effectively capture the desired images or videos․ Refer to the ‘Main Camera Modes’ section for detailed descriptions of each available option․

Navigating the Menus
The ViviCam S124 utilizes a menu system to access and adjust various camera settings․ Typically, a ‘Menu’ button initiates access to these options, displayed on the camera’s LCD screen․ Use the directional buttons – up, down, left, and right – to navigate through the menu’s different sections and sub-menus․
Within each menu, highlighted options indicate the currently selected setting․ Pressing the ‘OK’ or ‘Enter’ button confirms your selection․ To return to the previous menu level, look for a ‘Back’ or ‘Cancel’ button, or utilize the directional buttons to navigate upwards․
The menu structure is logically organized, grouping related settings together․ Explore the menus to customize image quality, flash settings, self-timer, and other features․ Remember to save any changes before exiting the menu system․
Main Camera Modes
The ViviCam S124 offers several main camera modes to suit different shooting scenarios․ These modes allow you to tailor the camera’s settings for optimal results, whether capturing still images or videos; Common modes include ‘Auto’, which automatically adjusts settings for general photography, and ‘Video’ for recording moving images․
Other modes likely include ‘Scene’ modes, offering pre-configured settings for specific environments like ‘Portrait’, ‘Landscape’, or ‘Night’․ These scenes optimize the camera for the intended subject․ A ‘Macro’ mode is also present, enabling close-up photography of small objects․
Switching between these modes is typically done via a mode dial or through the camera’s menu system․ Experiment with each mode to understand its strengths and how it affects the final image․ Refer to the camera’s display to confirm the currently selected mode․
Photo Capture Mode
When in Photo Capture Mode, the ViviCam S124 focuses on still image acquisition․ The camera’s display will typically show a live preview of the scene, allowing you to compose your shot․ Half-pressing the shutter button initiates autofocus, locking the focus on your subject․ A focus confirmation indicator will usually appear on the screen․
Fully pressing the shutter button captures the image․ The camera will briefly display the captured photo on the screen before returning to the live preview․ You can review captured images using the playback function, accessed via a dedicated button․
Settings like resolution, image quality, and white balance can be adjusted within Photo Capture Mode through the camera’s menu․ Utilizing these settings allows for greater control over the final image’s appearance and detail․
Camera Features: ViviLink
ViviLink is a proprietary feature of the ViviCam S124, designed to simplify photo transfer and organization․ It utilizes a dedicated software application, the ViviLink Image Manager, installed on your computer․ This software facilitates a seamless connection between the camera and your PC, streamlining the process of downloading and managing your digital photos․
Through ViviLink, users can easily browse, organize, and even perform basic editing tasks on their images․ The software often includes features like photo tagging, album creation, and one-click uploading to online sharing platforms․ It aims to provide a user-friendly experience beyond simply transferring files․
To utilize ViviLink, ensure the software is correctly installed and the camera is connected to your computer via a USB cable․ The software will then automatically detect the camera, initiating the transfer process․
Camera Features: Macro
The ViviCam S124 features a dedicated Macro mode, enabling close-up photography of small subjects․ This mode allows the camera to focus sharply on objects positioned very near the lens, capturing intricate details often missed in standard shooting․ It’s ideal for photographing flowers, insects, or any small item where fine textures are desired․
To activate Macro mode, navigate through the camera’s menu settings and select the appropriate option․ The camera will then adjust its focusing parameters to optimize for close-range subjects․ Be mindful of lighting when using Macro mode, as the close proximity of the lens can sometimes create shadows․

Experiment with different distances within the macro range to achieve the desired level of detail and focus․ This feature unlocks a new dimension of photographic possibilities with the ViviCam S124․
Camera Features: Flash
The ViviCam S124 is equipped with a built-in flash, providing supplemental illumination in low-light conditions․ This feature enhances image brightness and clarity when ambient light is insufficient․ The flash offers several modes, including Auto, Forced On, and Forced Off, allowing for versatile control over lighting․
In Auto mode, the camera automatically determines when flash is needed, optimizing for balanced exposure; Forced On ensures the flash fires with every shot, useful for filling shadows or overpowering bright backlighting․ Forced Off disables the flash, ideal for situations where natural light is preferred or flash is prohibited․
Consider the impact of flash on image quality; direct flash can sometimes create harsh shadows or red-eye․ Experiment with different flash modes to achieve the best results for various shooting scenarios․
Camera Features: Display

The ViviCam S124 features a built-in LCD display screen, serving as the viewfinder for composing shots and reviewing captured images and videos․ This display provides a clear preview of the scene, allowing for precise framing and focusing․ The screen also functions as the interface for navigating the camera’s menus and adjusting settings․
Brightness and contrast settings can often be adjusted to optimize visibility in different lighting conditions․ The display also shows important information such as battery level, shooting mode, and remaining storage capacity․ Reviewing photos on the display allows for immediate assessment of image quality and deletion of unwanted shots․
Conserving battery life is important; the display is a significant power consumer․ Consider utilizing the auto-off feature to extend battery duration during periods of inactivity․
Camera Technical Specifications
The ViviCam S124 is a digital camera produced by Sakar International, Inc․ While specific sensor details aren’t readily available, it’s designed for straightforward image capture․ The camera supports still image recording and video functionality, catering to basic photographic needs․
It utilizes internal memory for storage, supplemented by SD card compatibility for expanded capacity․ The camera’s resolution allows for printing standard-sized photos․ Power is supplied by standard batteries, offering portability for on-the-go shooting․ The ViviCam S124 is designed with user-friendliness in mind, making it accessible for beginners․
Its compact size and lightweight build enhance portability․ The camera’s features, including various shooting modes and a built-in flash, provide versatility in different shooting scenarios․ It’s a cost-effective option for casual photography․
Computer System Requirements
To transfer photos from your ViviCam S124 to a computer, certain system requirements must be met․ The camera is designed to be compatible with both Windows and Mac operating systems․ For Windows users, a system running Windows XP, Vista, 7, or 8 is recommended for optimal performance․
Mac users will require a system running Mac OS X or later․ A USB port is essential for connecting the camera to the computer․ Minimal RAM requirements are typically sufficient for photo transfer, as the process doesn’t demand intensive processing power․
Sufficient hard drive space is needed to store the transferred images․ The camera utilizes standard USB connectivity, eliminating the need for specialized drivers in most cases; Ensure your system meets these basic requirements for a smooth photo transfer experience․
Connecting to a Computer
To connect your ViviCam S124 to a computer, you’ll need the included USB cable․ First, ensure your computer is powered on and the camera is either powered on or in a charging state – both will allow connection․ Locate an available USB port on your computer and firmly plug one end of the USB cable into the camera and the other into the computer․
Your computer should automatically detect the camera as a removable storage device․ If prompted, select the option to allow access to the camera’s files․ The camera will appear as a drive in your computer’s file explorer (Windows) or Finder (Mac)․
Once recognized, you can browse the camera’s internal storage to access your photos and videos․ Disconnect the camera safely by using the “Safely Remove Hardware” option (Windows) or ejecting the drive (Mac) before physically unplugging the USB cable․
Transferring Photos
After connecting your ViviCam S124 to your computer via the USB cable (as detailed previously), transferring photos is straightforward․ Open the camera’s drive in your computer’s file explorer (Windows) or Finder (Mac)․ You’ll typically find your photos stored in a folder named “DCIM” or a similar designation․
You can then copy and paste, or drag and drop, the desired photos and videos from the camera’s drive to a folder on your computer․ Alternatively, you can use your computer’s photo import function, which often provides options for organizing and renaming files during the transfer process․
Ensure the transfer is complete before disconnecting the camera․ Regularly backing up your photos to a separate storage device or cloud service is highly recommended to prevent data loss․
Troubleshooting Common Issues
If your ViviCam S124 isn’t powering on, first ensure the battery is fully charged and correctly inserted․ If the camera freezes or becomes unresponsive, try resetting it by removing the battery for a few minutes and then reinserting it․ For issues with image quality, check the lens for smudges and ensure sufficient lighting․
If the camera isn’t recognized by your computer, verify the USB cable is securely connected to both devices and try a different USB port․ Ensure you have installed any necessary drivers, though most modern operating systems should auto-detect the camera․
If you encounter error messages on the display, consult the camera’s manual for specific explanations and solutions․ If problems persist, consider visiting the Sakar International website for further support or FAQs․
Battery Information & Charging
The ViviCam S124 utilizes a rechargeable battery, allowing for convenient, cordless operation․ To charge the battery, connect the camera to a computer using the provided USB cable, or utilize a compatible USB power adapter․ A charging indicator light will illuminate, typically red while charging and turning off or changing color when fully charged․
Avoid exposing the battery to extreme temperatures or direct sunlight, as this can damage its performance and lifespan․ Only use the specified charger or a compatible USB connection for charging․ Do not attempt to disassemble or modify the battery pack․
Battery life varies depending on usage, including flash frequency, display brightness, and recording duration․ Store the battery in a cool, dry place when not in use to maximize its longevity․
Care and Maintenance
To ensure the longevity and optimal performance of your ViviCam S124, regular care and maintenance are essential․ Clean the camera body with a soft, dry cloth․ Avoid using abrasive cleaners or solvents, as these can damage the finish․
The lens should be cleaned gently with a lens cleaning cloth or a soft brush to remove dust and fingerprints․ Protect the camera from extreme temperatures, humidity, and direct sunlight․ Store the camera in a dry, dust-free environment when not in use․
Handle the camera with care to avoid accidental drops or impacts․ Regularly check the battery compartment for corrosion and clean if necessary․ Avoid prolonged exposure to sand or water․
Safety Precautions
To ensure safe operation of your ViviCam S124, please adhere to the following precautions․ Do not disassemble or modify the camera, as this may result in electric shock or damage․ Avoid exposing the camera to water or other liquids․
Never look directly into the flash, as this can cause temporary vision impairment․ Keep the camera out of reach of young children․ Do not use the camera in hazardous environments, such as near flammable gases or explosives․
Always use the provided battery charger and follow the charging instructions carefully․ Do not attempt to charge the battery if it is damaged or leaking․ If you experience any unusual smells, sounds, or smoke, immediately disconnect the power and contact customer support․
Warranty Information
Your ViviCam S124 digital camera is covered by a limited warranty provided by Sakar International, Inc․ This warranty protects against defects in materials and workmanship under normal use for a specified period, typically one year from the date of original purchase․
To obtain warranty service, you must present a valid proof of purchase․ The warranty does not cover damage caused by misuse, accidents, unauthorized repairs, or normal wear and tear․ Sakar International, Inc․ will, at its option, repair or replace the defective product․

This warranty is your exclusive remedy․ Sakar International, Inc․ disclaims all other warranties, express or implied․ For complete warranty details and to initiate a claim, please visit the Sakar International website or contact their customer support team․ Retain your proof of purchase for warranty service․