mymini egg cooker manual

MyMini Egg Cooker Manual: A Comprehensive Guide
This manual details operation‚ safety‚ and recipes for the Nostalgia MyMini Premium 7-Egg Cooker‚ ensuring perfectly cooked eggs every time with ease and convenience.
Welcome to the world of effortless egg preparation! The MyMini Egg Cooker‚ a product of Nostalgia Products Group‚ is designed to simplify your breakfast‚ brunch‚ or snack time. This compact appliance offers a convenient solution for boiling‚ poaching‚ and even making omelets‚ all with the touch of a button.
Ideal for small kitchens‚ dorm rooms‚ or anyone seeking a quick and easy way to enjoy perfectly cooked eggs‚ the MyMini boasts a 7-egg capacity. Its user-friendly design and one-touch operation make it accessible to cooks of all skill levels. This manual will guide you through every step‚ from assembly and operation to cleaning and maintenance‚ ensuring you consistently achieve delicious results. Prepare to elevate your egg game!
What’s Included: Parts and Accessories
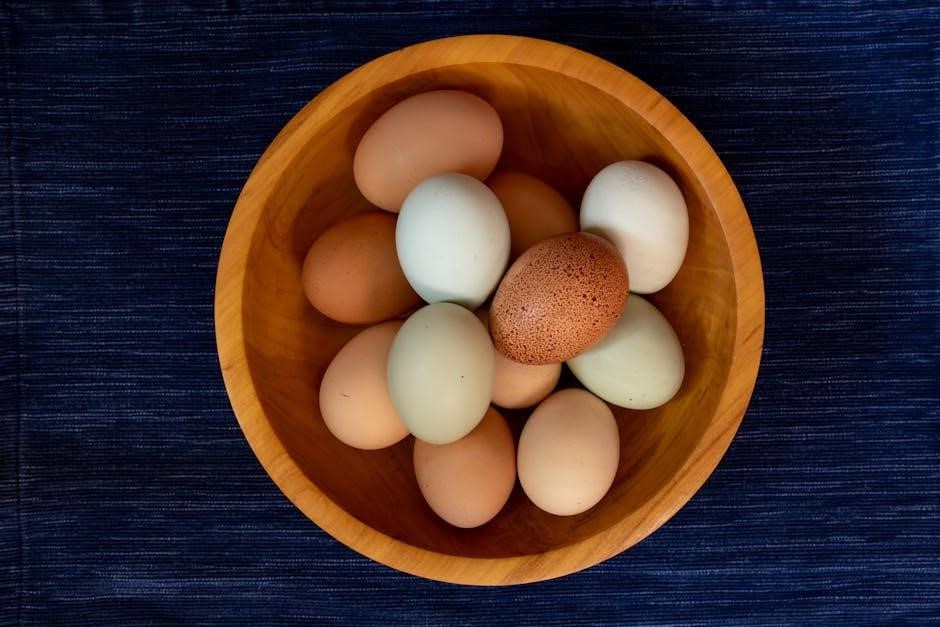
Your MyMini Premium 7-Egg Cooker package contains several key components to ensure optimal functionality. These include the main heating base‚ which houses the heating element and controls‚ and the egg tray capable of holding up to seven eggs. A precise water measuring cup is also included‚ crucial for achieving your desired egg doneness.
Additionally‚ you’ll find a steaming tray for optional vegetable steaming (consult manual for limitations). The unit features a secure-fitting lid to trap steam and maintain consistent temperature. Carefully unpack all components and verify their presence before first use. Refer to the diagrams in this manual for visual identification of each part. Retain the original packaging for potential future storage or transport.
Safety Precautions and Important Warnings
To ensure safe operation of your MyMini Egg Cooker‚ heed these crucial warnings. Never immerse the heating base in water or any other liquid; this poses a severe electric shock risk. Always unplug the appliance when not in use and before cleaning. Avoid touching hot surfaces‚ including the lid and heating plate‚ during and immediately after operation – use oven mitts.
This appliance is intended for household use only. Do not operate with a damaged cord or plug. Keep out of reach of children. Supervise use by individuals with limited physical‚ sensory‚ or mental capabilities. Read all instructions before use and retain this manual for future reference. Improper use may result in injury or damage.

Getting Started: Assembly and First Use
Begin by securely attaching the heating plate‚ then familiarize yourself with the cooker’s components before your initial egg-cooking adventure begins!
Assembling the MyMini Egg Cooker
To begin‚ locate the heating plate and ensure it’s properly positioned within the base of the MyMini Egg Cooker. This plate is crucial for even heat distribution during the cooking process. Next‚ carefully attach the egg tray on top of the heating plate; it should fit snugly and securely.
Confirm the tray is level to prevent uneven cooking. The included measuring cup is essential for adding the correct amount of water‚ as water level directly impacts the final doneness of your eggs. Ensure the measuring cup is clean before use. Finally‚ double-check all components are firmly in place before plugging in the appliance. A secure assembly guarantees safe and efficient operation‚ leading to consistently delicious results with your new egg cooker!
Understanding the Control Panel
The MyMini Egg Cooker features a remarkably simple‚ one-touch control panel designed for effortless operation. Typically‚ a single button initiates the cooking cycle‚ automatically adjusting cooking time based on your selected water level. The control panel lacks complex settings‚ prioritizing user-friendliness.
An audible chime signals the completion of the cooking process‚ alerting you when your eggs are ready. There are no digital displays or multiple buttons to navigate. The simplicity ensures anyone can quickly master its use. Familiarize yourself with the single button’s function and listen for the chime – these are the core elements of the control panel‚ guaranteeing a hassle-free egg-cooking experience!
Water Level Guide: For Perfect Consistency
Achieving your desired egg doneness relies heavily on precise water measurement. The included measuring cup is crucial for consistent results. Generally‚ less water yields harder-boiled eggs‚ while more water results in softer yolks. Specific markings on the cooker indicate levels for soft‚ medium‚ and hard-boiled eggs.

For poaching‚ a designated water level ensures sufficient liquid for egg coagulation without overflowing. Always use the provided cup; standard measuring tools may be inaccurate. Experimenting slightly with water levels allows personalization to your preference. Refer to the guide for optimal amounts‚ and remember that altitude adjustments may be necessary for perfect consistency every time!

Cooking Methods: Mastering Egg Preparation
The MyMini Egg Cooker excels at boiling‚ poaching‚ and omelet making‚ offering versatile egg preparation options for quick and delicious meals with minimal effort.
Boiling Eggs: Achieving Your Desired Doneness
Boiling eggs with the MyMini Egg Cooker is remarkably simple. Begin by using the included measuring cup to add water according to the water level guide – less water yields harder eggs. Place the eggs onto the heating plate‚ ensuring they are evenly distributed. Select your desired doneness: soft‚ medium‚ or hard-boiled‚ using the control panel settings.
The cooker automatically shuts off when cooking is complete‚ signaled by a chime. Immediately run cold water over the eggs to stop the cooking process and facilitate peeling. Experiment with water levels to fine-tune results to your preference. Consistent results are achieved through precise water measurement and utilizing the pre-set cooking options‚ delivering perfectly boiled eggs every time.
Poaching Eggs: A Step-by-Step Guide
Poaching eggs with the MyMini Egg Cooker requires utilizing the poaching tray‚ if included with your model – consult your manual for specifics. Add the recommended amount of water to the base‚ ensuring it reaches the designated fill line. Gently place the eggs into the individual poaching wells of the tray. Select the ‘poach’ setting on the control panel‚ and the cooker will automatically regulate the temperature and cooking time.
The chime will signal when poaching is complete. Carefully remove the poached eggs with a slotted spoon. For best results‚ use fresh eggs and consider adding a splash of vinegar to the water to help the egg whites coagulate. Enjoy perfectly poached eggs with minimal effort!
Making Omelets: Recipes and Techniques
The MyMini Egg Cooker simplifies omelet creation‚ offering a convenient alternative to stovetop cooking. Begin by lightly beating eggs with a splash of milk or cream. Add your desired fillings – cheese‚ vegetables‚ or meats – directly into the egg mixture. Pour the mixture into the omelet pan (if included)‚ or grease the cooker base if a separate pan isn’t provided. Select the ‘omelet’ setting on the control panel.
The cooker will automatically heat and cook the omelet. Once complete‚ carefully remove the cooked omelet and fold it over. Experiment with different fillings and seasonings to create personalized omelet variations. Enjoy a quick and delicious breakfast or brunch!
Advanced Features and Tips
Explore steaming capabilities and altitude adjustments for optimal results. Troubleshooting guides address common issues‚ maximizing your MyMini Egg Cooker’s performance and versatility.
Using the Steaming Tray (If Applicable)
Some MyMini Egg Cooker models include a steaming tray‚ expanding its functionality beyond egg preparation. This tray allows for light steaming of vegetables or small portions of seafood‚ offering a convenient all-in-one cooking solution. Before steaming‚ ensure the water level is appropriate – consult the water level guide for precise measurements‚ as excessive water can affect the steaming process.
Place the steaming tray securely within the cooker‚ then add your desired ingredients. Cooking times will vary depending on the vegetable or food being steamed; start with shorter intervals and check for desired tenderness. Always refer to your specific model’s manual for recommended steaming times and quantities. Remember that the MyMini Egg Cooker is primarily designed for eggs‚ so steaming capabilities may be limited compared to dedicated steamers.
Adjusting Cooking Times for Altitude
Cooking times may need adjustment when using the MyMini Egg Cooker at higher altitudes‚ as water boils at a lower temperature. This means eggs will take longer to cook to the desired consistency. As a general rule‚ increase cooking time by approximately 1-2 minutes for every 1‚000 feet above sea level.
Start with a small increase and experiment to find the optimal cooking time for your specific altitude and preferred egg doneness. Carefully monitor the eggs during the initial adjustments to prevent over or undercooking. It’s recommended to keep a record of your adjustments for future reference‚ ensuring consistently perfect results. Refer to your model’s manual for specific guidance‚ as recommendations can vary.
Troubleshooting Common Issues
If the MyMini Egg Cooker isn’t turning on‚ ensure it’s properly plugged into a functioning outlet. Check the power cord for any damage. If eggs are undercooked‚ increase the water level slightly or add 30-60 seconds to the cooking time. For overcooked eggs‚ reduce water or cooking time.
A persistent chime may indicate a sensor issue; contact customer support. If the heating plate appears damaged‚ discontinue use immediately. Always unplug the cooker before cleaning. If you experience unusual odors‚ unplug and inspect for residue. Refer to the manual for detailed troubleshooting steps and safety precautions. Contact Nostalgia support if problems persist.

Cleaning and Maintenance
Regular cleaning ensures longevity and hygiene. Disassemble after each use‚ wash components with mild soap and water‚ and store properly when not in use.
Disassembling the Egg Cooker for Cleaning
Before cleaning‚ always ensure the MyMini Egg Cooker is unplugged and completely cool. Gently lift the heating base from the egg tray. The egg tray itself can then be removed‚ allowing access to the interior. Carefully detach the piercing pin tool and the measuring cup; these are typically removable for easier cleaning.
If your model includes a steaming tray‚ lift it out after removing the egg tray. Avoid forcing any components; they should disassemble with minimal effort. Inspect all parts for any lingering egg residue. Proper disassembly is crucial for a thorough clean‚ preventing buildup and ensuring optimal performance in future uses. Remember to keep all parts accessible for efficient cleaning.
Cleaning Instructions: Safe Materials and Methods
To clean your MyMini Egg Cooker‚ use a damp‚ soft cloth and mild dish soap. Avoid abrasive cleaners or scouring pads‚ as these can damage the non-stick coating. The egg tray‚ piercing pin‚ measuring cup‚ and steaming tray (if applicable) are typically dishwasher safe – check your model’s specific instructions.
Never immerse the heating base in water or any other liquid. Wipe it clean with a damp cloth only. Ensure all parts are thoroughly dried before reassembling. Avoid using harsh chemicals‚ as they may leave residue. Regular cleaning prevents buildup and maintains the cooker’s longevity and hygienic operation. Proper care ensures consistently delicious results.
Storage Recommendations
When storing your MyMini Egg Cooker‚ ensure all components are completely dry. Disassemble the unit and store the egg tray‚ piercing pin‚ measuring cup‚ and any other accessories inside the heating base to keep everything together. Choose a cool‚ dry location away from direct sunlight and moisture;
Avoid storing heavy items on top of the cooker‚ as this could potentially damage it. If you’re storing it for an extended period‚ consider placing the original packaging around it for added protection. Proper storage helps maintain the cooker’s functionality and extends its lifespan‚ ensuring it’s ready for your next egg-cellent breakfast!

Recipes and Inspiration
Explore classic deviled eggs and quick egg salad recipes‚ alongside exciting omelet variations‚ all easily achievable with your versatile MyMini Egg Cooker!
Deviled Eggs: A Classic Recipe
Deviled eggs are a timeless appetizer‚ and your MyMini Egg Cooker makes preparation effortless! Begin by perfectly hard-boiling six eggs using the cooker – a simple process ensuring consistent results. Once cooled‚ peel and halve the eggs‚ carefully removing the yolks into a separate bowl.
Mash the yolks with two tablespoons of mayonnaise‚ one teaspoon of yellow mustard‚ a dash of paprika‚ salt‚ and pepper to taste. For a delightful twist‚ consider adding a pinch of cayenne pepper or a teaspoon of sweet pickle relish.
Spoon or pipe the yolk mixture back into the egg white halves. Sprinkle with additional paprika for a vibrant finish. Chill for at least 30 minutes before serving to allow flavors to meld. Enjoy this classic‚ crowd-pleasing treat!
Egg Salad: Quick and Easy Preparation
Whip up a delicious egg salad in minutes with eggs cooked to perfection using your MyMini Egg Cooker! Start by boiling six eggs – the cooker’s consistent results guarantee ideal texture. After cooling and peeling‚ coarsely chop the eggs and place them in a mixing bowl.
Add three tablespoons of mayonnaise‚ one tablespoon of finely chopped celery‚ half a tablespoon of yellow mustard‚ a pinch of salt‚ and pepper to taste. For extra flavor‚ consider a dash of paprika or a sprinkle of fresh dill;
Gently combine all ingredients until well mixed‚ being careful not to overwork the salad. Serve immediately on bread‚ crackers‚ or lettuce leaves for a quick and satisfying meal or snack!
Omelet Variations: Exploring Different Flavors
Unlock a world of breakfast possibilities with your MyMini Egg Cooker’s omelet function! Beyond the basic‚ experiment with exciting flavor combinations. Try a Western Omelet: add diced ham‚ bell peppers‚ and onions to your egg mixture before cooking for a hearty start.
For a Mediterranean twist‚ incorporate crumbled feta cheese‚ spinach‚ and sun-dried tomatoes. A classic Denver Omelet features ham‚ cheddar cheese‚ and green onions. Don’t forget a simple mushroom and Swiss combination!
Pre-cook any meats or vegetables before adding them to the cooker. Season generously with herbs and spices to elevate your omelet creations. Enjoy endless breakfast adventures!

Technical Specifications
The MyMini Premium Egg Cooker (Model EC7AQ) boasts a 7-egg capacity‚ requiring 350 watts of power‚ and measures efficiently for compact kitchen spaces.
Model Number and Capacity (7-Egg)
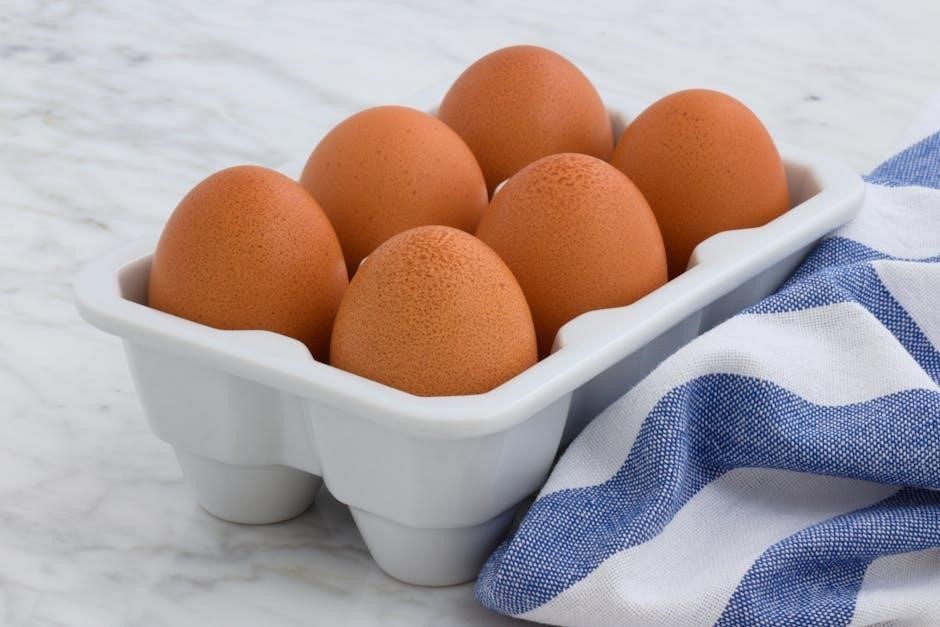
The Nostalgia MyMini Premium Egg Cooker is identified by model number EC7AQ‚ a crucial detail for referencing support materials or when contacting customer service. This appliance is specifically designed to accommodate up to seven eggs simultaneously‚ making it an excellent choice for individuals‚ couples‚ or small families.
Its 7-egg capacity streamlines breakfast preparation‚ reducing cooking time and effort. Whether you prefer a soft-boiled egg for dipping toast soldiers or a hard-boiled egg for a quick snack‚ the MyMini cooker handles various preferences with ease. The compact design doesn’t compromise on functionality‚ offering a convenient solution for preparing eggs to your desired consistency. Knowing the capacity allows for efficient meal planning and ensures you can cook enough eggs to satisfy everyone’s appetite.
Power Requirements and Wattage
The MyMini Premium 7-Egg Cooker operates on standard household electrical power‚ requiring a 120-volt AC power supply. It’s designed for convenience and compatibility with typical kitchen outlets in North America. The appliance consumes 350 watts of power during operation‚ a relatively low wattage that makes it energy-efficient for daily use.
This wattage level allows for quick heating and consistent cooking without placing excessive strain on your electrical system. Always ensure the cooker is plugged into a properly grounded outlet to prevent electrical hazards. Refer to the appliance’s base for specific voltage and wattage information. Understanding these power requirements is essential for safe and optimal performance of your MyMini Egg Cooker.
Dimensions and Weight
The MyMini Premium 7-Egg Cooker boasts a compact design‚ making it ideal for small kitchens‚ dorm rooms‚ or limited counter space. Its dimensions are approximately 7.5 inches in diameter and 8.5 inches in height‚ allowing it to fit comfortably in most storage areas. The appliance is lightweight‚ weighing around 2.2 pounds (approximately 1 kilogram) when empty.
This manageable weight facilitates easy portability and handling. The compact footprint ensures it won’t dominate your countertop‚ while still providing ample capacity for cooking up to seven eggs at once. These dimensions and weight contribute to the overall user-friendly experience of the MyMini Egg Cooker‚ making it a convenient addition to any kitchen.
Warranty Information and Support
Nostalgia Products Group provides a warranty for the MyMini Egg Cooker‚ alongside accessible customer support and online resources for assistance.
Nostalgia Products Group Warranty Details
Nostalgia Products Group warrants this MyMini Egg Cooker to be free from defects in material and workmanship for a period of 90 days from the date of original purchase. This warranty covers normal household use and does not cover damage resulting from accident‚ misuse‚ abuse‚ or unauthorized modification.
To obtain warranty service‚ please contact Nostalgia Products Group with proof of purchase. The company will‚ at its discretion‚ repair or replace the defective unit. This warranty gives you specific legal rights‚ and you may also have other rights which vary from state to state.
Warranty is void if the product has been subjected to commercial use or any use other than as intended. Nostalgia Products Group is not responsible for any consequential damages.
Contacting Customer Support
For assistance with your MyMini Egg Cooker‚ Nostalgia Products Group offers several convenient support options. You can reach their customer service team via phone at a number listed on their official website‚ www.nostalgiaproducts.com‚ during regular business hours.
Alternatively‚ email support is available through the “Contact Us” section of the website‚ allowing for detailed inquiries and potential image attachments to illustrate any issues.
The website also features a comprehensive FAQ section addressing common questions and troubleshooting tips. Live chat support may also be available at certain times. Ensure you have your model number (EC7AQ) ready when contacting support for faster assistance.
Finding Additional Resources Online
Beyond the official manual‚ a wealth of resources exists online to enhance your MyMini Egg Cooker experience. The Nostalgia Products Group website (www.nostalgiaproducts.com) hosts a dedicated section for the EC7AQ model‚ including downloadable recipes‚ instructional videos‚ and frequently asked questions.
YouTube channels often feature user-created tutorials and recipe demonstrations specifically for this cooker‚ offering visual guidance.
Online forums and social media groups dedicated to small kitchen appliances can provide a platform for sharing tips‚ troubleshooting advice‚ and creative egg preparation ideas. Searching for “MyMini Egg Cooker” or “EC7AQ” will yield relevant results‚ expanding your culinary possibilities.